This little house was being sold by the family whose mother, now well into her 90's had to move into a nursing home. The "kids" were all in their late sixties and seventies and needed to get rid of it.
The house had not been selling because, in addition to it being outdated, it only had two small bedrooms upstairs and a partial basement that was mainly dirt crawlspace.
 |
| One thing that attracted me to the house was a new addition that really opened up the family room and brought light to the whole house |
 |
| From this family room addition you could see into the rest of the house and it was a great space for a great room, but I knew that in order to sell this house later, I would need to make this area into a main floor master bedroom. |
 |
| The kitchen cabinets were old, but they were super solid 44" cabinets that great potential once painted, so I kept them. |
 |
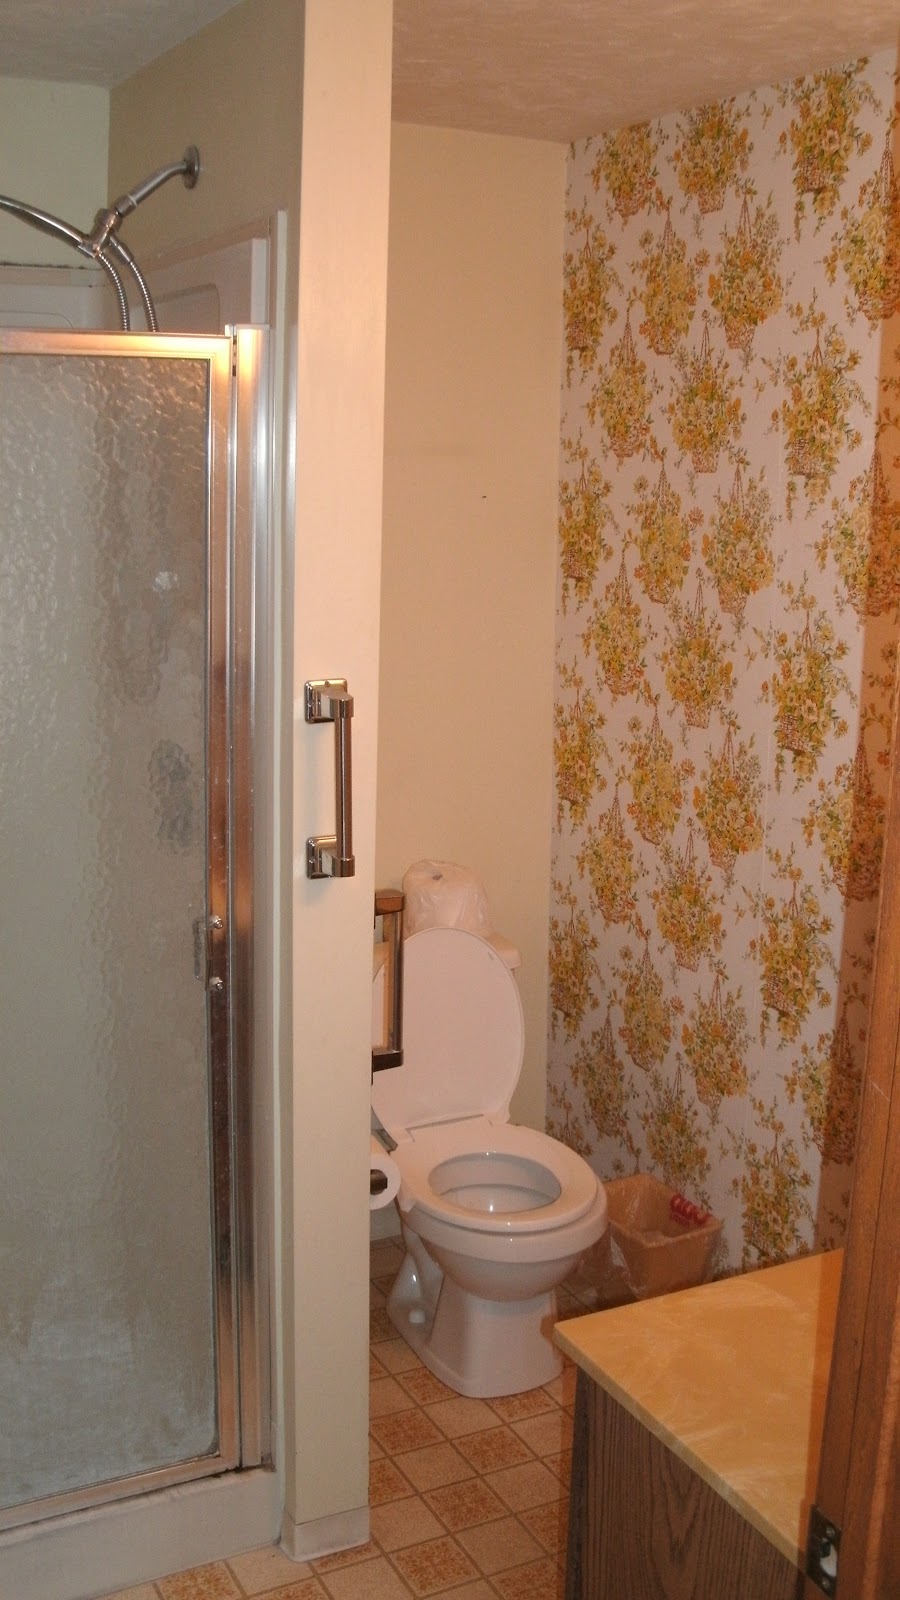
| Main floor bathroom. I would combine this bathroom with the laundry and make it one large space. |
|
A little peek at the hardwood floors in the dining room
 |
| Upstairs bedroom 1 |
 |
| Upstairs bedroom 2 |
 |
| little sitting room off of bedroom 2 that would become a closet |
 |
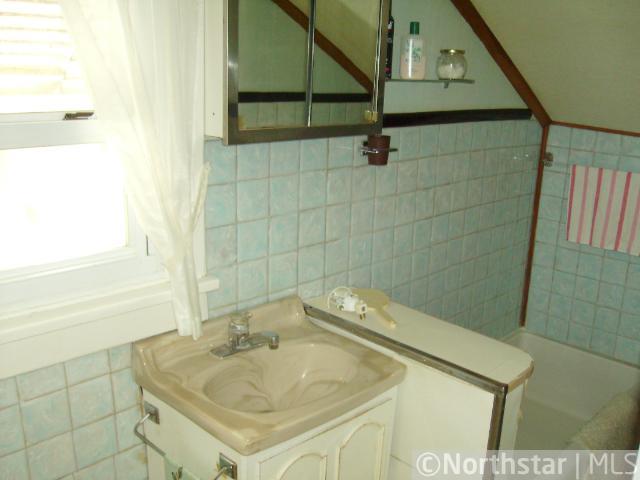
Original upstairs bathroom. Seven people shared this bath when the five kids were growing up in the 50's
|
 |
| The house was full of paneling and once that came off you could see how bad the framing was, so the first thing we did was reinforce the framing |
 |
| Starting to frame up the new bedroom. Seems like it is going to be dark, but it gets better. |
 |
| The floor joist on the second floor were 24 inches apart and the floor sagged, so we had to reinforce the structural by adding a joist every 12 inches. Better than new construction! |
 |
| New bedroom. This side is where the closets will be. |
 |
| Kitchen cabinets getting painted. When we took out the ceilings we discovered another ceiling that had been buried, so we gained an extra foot of height. |
 |
| The original maple floors starting to take shape after the first sanding. |
 |
| Floor refinisher laying down the first coat. |
 |
| The old siding style worked well using a dove gray, white trim and black shutters. I removed the awnings and it brought in 50% more light. |
 |
| I had this rock brought in at the last minute to make a statement when you first drive up to the house. |
 |
| Simple rough slate tile made a nice entrance off the deck. |
 |
| Floor are done, and for the first time I tried a stager. That was probably one of the best investments as it really made the rooms come together. |
 |
| I also invested in a photographer who could take much better photos to really make the place come to life on the MLS. |
 |
| This is now the new family room. Since it was narrow it really need to be staged to show potential buyers how the furniture would fit. The master bedroom would be on the right side of this room. |
 |
| The cabinets with a fresh coat of enamel and new hardware. I love the uneven slate for the mudroom area. |
 |
| Great nuances of the old hardwood floors. The kitchen had three layers of linoleum and plywood over the top of it, so they were really well preserved. |
 |
| Main floor bathroom |
 |
| Upstairs bath. The space is only 44" wide, so I didn't have any room to add on to it, but we were able to get in a shower instead of that little tub, to make it usable for today's family. |
|
 |
| Bedroom #1 |
 |
| Bedroom #1 |
 |
| Bedroom #2. Also original wider plank red fir floors. |
 |
| This room was a closet but was also staged as a playroom/nursery. |
 |
| Main floor master |
 |
| We kept the deck and restained it a coffee color and added some flowers by the new boulder. It was a great house in a nice neighborhood with nice neighbors. The woman who lived next door used to play with the kids in this house when she was a little girl. She was blown away with the transformation, but the most rewarding thing was to show the family the rehabbed home. They were so happy to see the home preserved, but the character still remained. |